


Sourdough you sing to my heart

So, I had some time this week to break out the sourdough starter and get it fired up. And just for the fun of it, I also got out the freeze dried back up and gave it a whirl to make sure it was going to be viable long term.
This starter is Robyn’s. He got it from friends in Wyoming, who obtained it from a family member that got it during the Klondike Gold Rush between 1896 to 1899 and they brought it back to Wyoming. It then moved to Colorado with Robyn and now it’s back in Wyoming with me. It’s an old starter and a long time to keep going.
I’m sure it has changed over time with the addition of new yeasts in the different places it has lived. That much is inevitable.
The existing starter was taken out of the fridge on Monday and put into my plastic bin and fed. It started getting very happy again. I started a new bin for the freeze-dried version. I use 50/50 split of bread flour and home ground whole wheat flour to feed my starters. Rye flour is also a great choice mixed with bread flour, and will give your starter an entirely different flavor. Along with an equal amount of warm water added for the feed. I don’t use metal for the starter, glass or plastic only. I’ve been told it can impart a not so pleasant taste to the starter if it’s in metal. I have not tried it to find out.
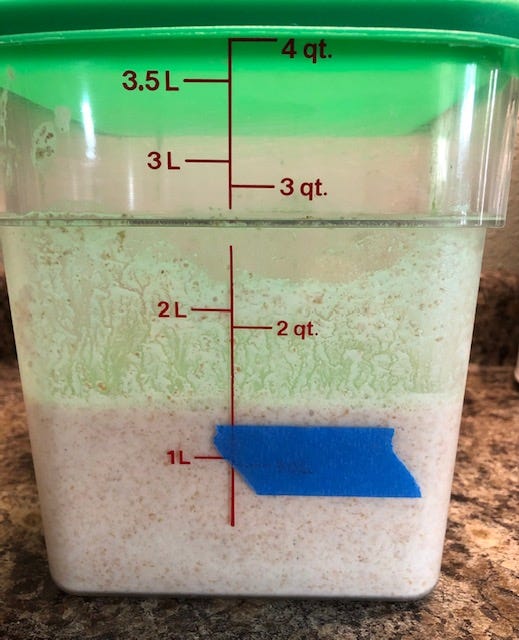
You can see by the tape mark how much it was increasing in just a short time.
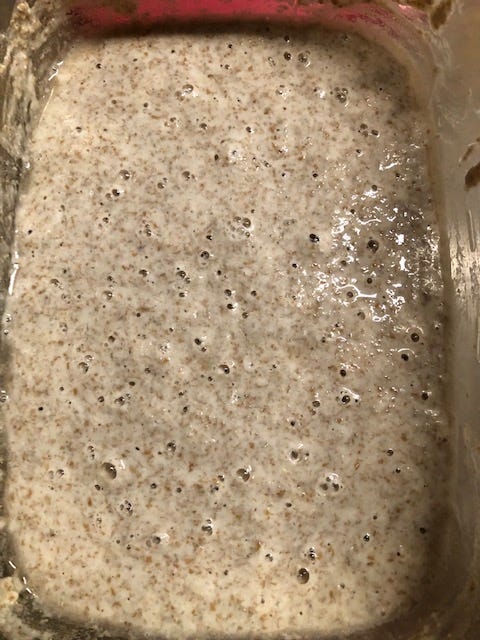
I started to see evidence of the freeze-dried version was bubbling within a few hours of being reactivated. That makes me happy to see!
I fed it again after 12 hours, and again after another 12 hours. From there I can do one feeding every 24 hours.
I started my bread dough on Wednesday, it’s about a 24-hour process for the dough to go from start to baked loaves. I use the Tartine recipe at the link below, with a few modifications that I found work better for me. Mainly, adjusting the amount of water I add, if it’s humid here, I add less water, conversely, if dry, I add a touch more.
Tartine Bakery's Country Bread Recipe | Martha Stewart
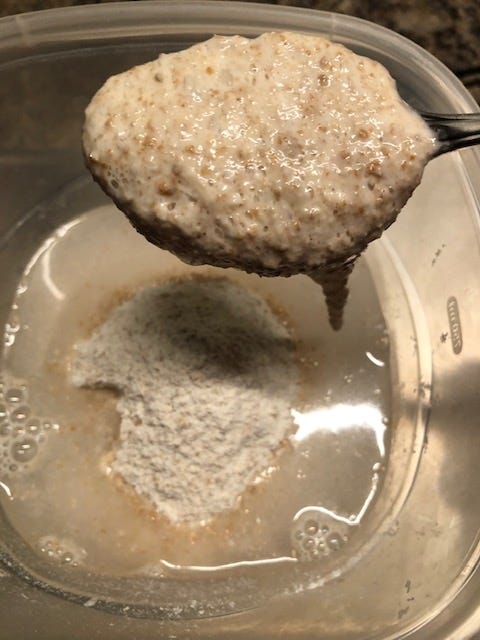
The leaven is made first thing in the morning, since I’m up before 5am, that’s when i get it going. I use the same 50/50 split flours for the leaven, warm water, and a healthy spoonful of active starter. It’s put in a warm area out of the any breeze in the house and allowed to get active. I weigh out all the remaining ingredients in grams, per the recipe. The starter for this is from the freeze-dried sample I pulled out.
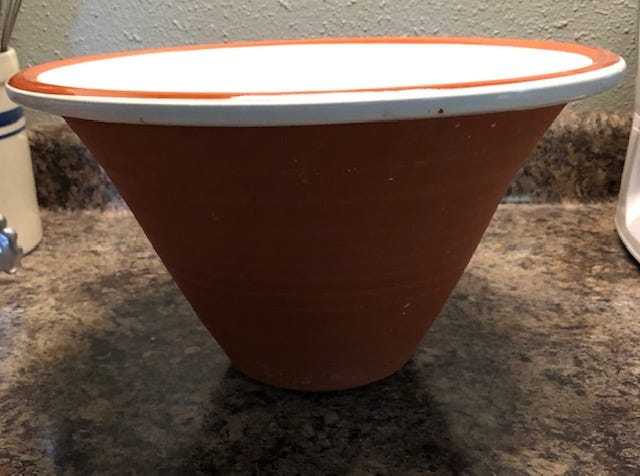
Since this is done all by hand, my favorite mixing bowl to use for this is a reproduction 18th C pancheon. It does a marvelous job of letting all the loose flour down, so I don’t have to hunt in corners or edges to find it all and get it incorporated. Plus, it’s just a fun bowl to use!!
After letting the leaven sit and get happy for a few hours, it’s time to make the dough. I add the leaven into 670g of warm water and mix it together. This batch of dough is 10% whole wheat and 90% white bread flour. The recipe does call for 700g water, but it’s been a bit humid here, so I cut it back a bit. This way I don’t end up with a super wet sticky dough.
I have changed up the dough by adding garlic and parmesan cheese, or another favorite is cheddar cheese and diced apple. Everything bagel is also fabulous!
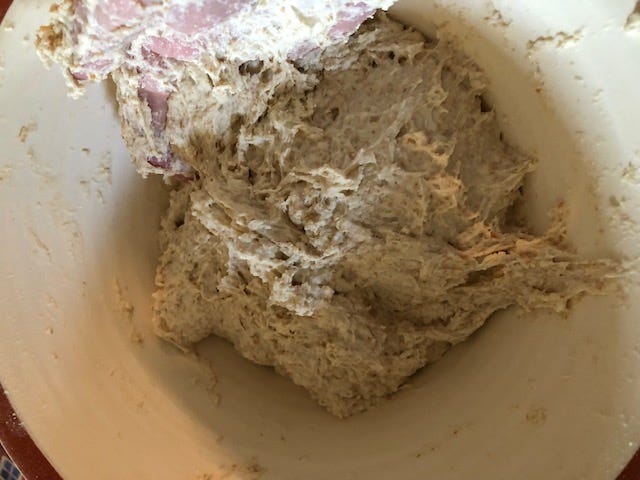
After this initial mixing, the dough will sit and rest for 30 mins. This allows the flour to absorb the water. It looks pretty shaggy at this point also. I cover it with a dish towel while it sits. The fricken flies are still so bad here right now, plus they are all trying to get into the house where it’s warmer for them. They would very much enjoy getting into my dough given half a chance.
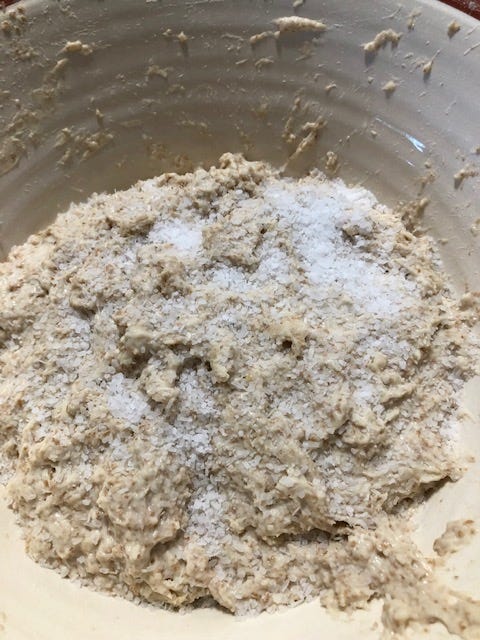
20g of Kosher salt and 30g of water are added to the dough and mixed in well. The dough will start to smooth out after this step. Another 30 min rest period for the dough before I start the stretch and fold process. I grab one edge of the dough and pull it straight up as long as it will go, then fold it over the top. I make 5-6 spins of the bowl doing this stretch and fold. The dough will tighten up as you make the stretches. It’s really pretty cool to feel it firm up in your hands.
The stretch and fold process is repeated 5 times, with a 30 min rest between each one. Then it’s onto shaping!!
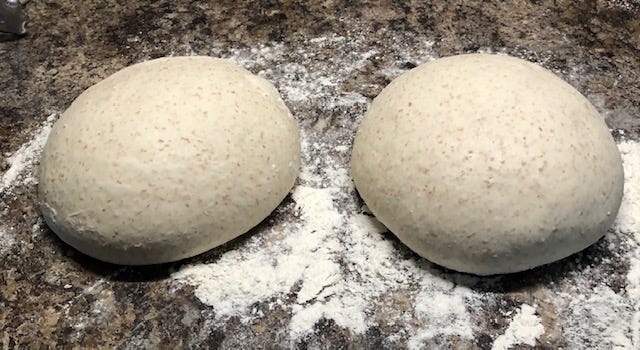
The dough is divided into two sections. Each section is stretched and folded into thirds before I work it into a round ball and tension the top by pulling the ball towards me, allowing the leading edge to pull on the counter. Then turned and done again 3 more times. Once again, cover and let rest 30 mins.
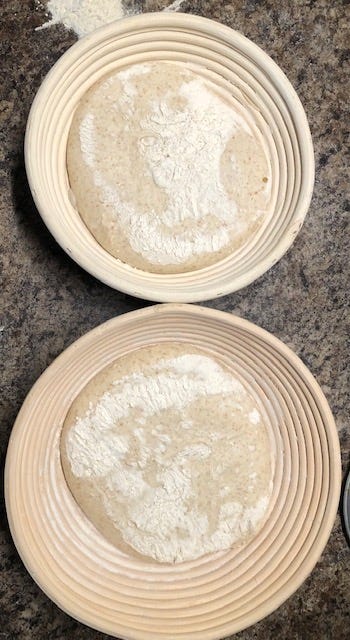
I let my dough rise in banneton baskets. I dust the baskets with rice flour to keep it from sticking, this does not add more gluten to the dough and possibly change the character of your dough. The baskets of dough go into plastic grocery store bags, and it does a long slow rise in the fridge. Anywhere from 12-14 hours. This allows the dough to ferment and bring out the sour flavor of sourdough. My starter is not a very sour starter. It’s quite a mild starter that I really enjoy.
I do my baking in a cast iron dutch oven, with a round rack in the bottom. I found if I just put the dough on the bottom of the dutch oven, I ended up with a crust that becomes really tough to chew. I also put a cookie sheet in my oven, one rack below the dutch oven to deflect some of the heat off the bottom of the dutch oven, which helps make a nicer bottom crust.
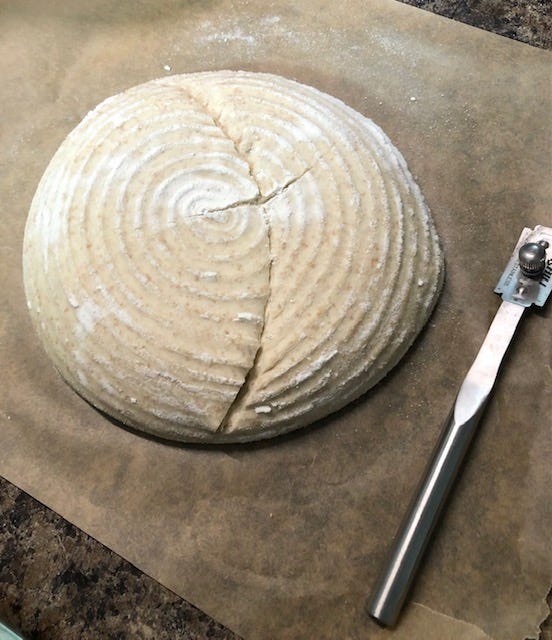
After tipping the dough out of the banneton onto parchment paper, I score the top with a lame. I’ve tried doing some of that fancy cutting into the tops, only to find that I am not that creative LOL!!
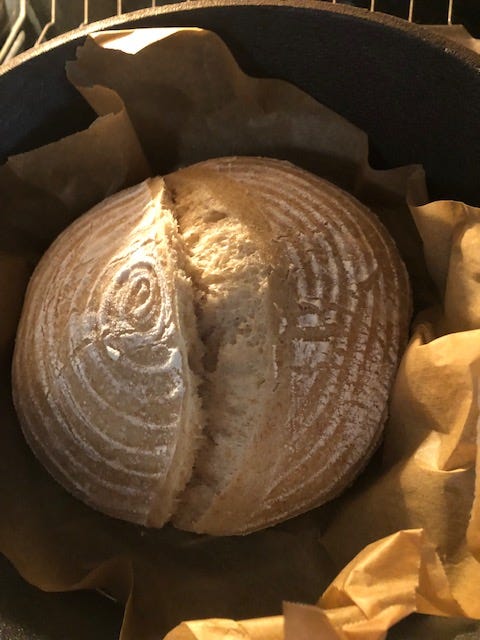
I got great oven spring!!! This pic is 25 mins into the baking time, when I take the lid off the dutch oven so the top can brown. Oven gets preheated to 500, when I put the dough in, I drop the temp to 450 for 25 mins with the lid on, then 425 for 25 mins with the lid off.
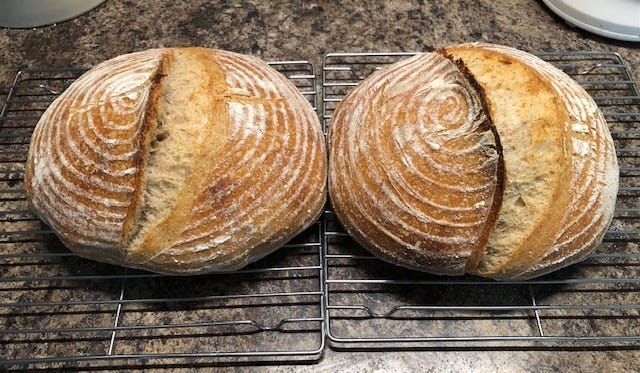
I’m really happy with how they both came out, I got a great ear on both, and the kitchen smells heavenly!!
And since I was in a baking mood, and the oven was already hot, I decided to make some sourdough discard popover. Discard is what is left after you feed your starter, and have your active starter for baking. Some of this will go back in the fridge for the next baking day, and the rest I use for other baking. So don’t throw your discard out! It’s fabulous for other baked goods. Scones, English muffins, pretzels, and even pasta dough!! This stuff is really versatile. I use the recipe from the link below. They have great recipes to try, and I’ve used many of them to date.
Discard recipes for your sourdough
And a few other links!

They came out really tasty! Two were enough to get me thru cleaning the barn this morning LOL.
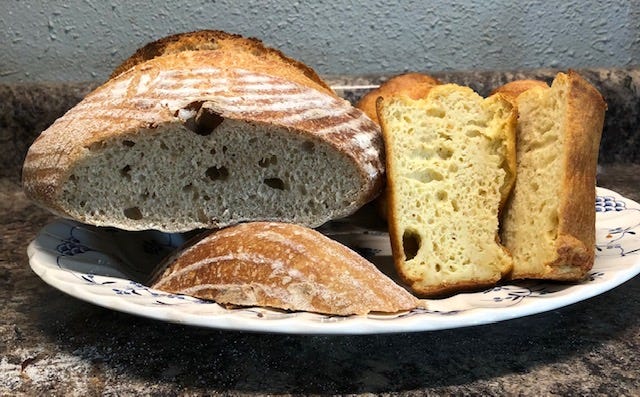
All of the items in the pictures are made from the freeze-dried starter.
If you are interested in my starter, I have freeze dried starter ready to go. 1/2oz for $10.00, includes shipping. This is enough starter for several starts, or to keep for emergency back up. I will also include an instruction sheet so you can start your batch of sourdough. You won’t have to buy yeast again! Send me an email and i’ll get it shipped to you.
SPECIAL OFFER for the month of October!!!! If you upgrade your subscription to any of the paid options, or you are a new paid subscriber, I will gift you 2oz of starter. Plenty to make your own, save some for an emergency or gift to family and friends! Existing paid subscribers, I extend this off to you as well, just let me know your address! You will also be helping me to keep my farm running, and I greatly appreciate your support!
Blessed Be!
Only if I were more active and younger
What a great read!! I'm trying to imagine everything that starter has been through during the past 100 plus years, where pieces of it may have traveled. What fun! Once I get into the new house, I will Definitely buy some from you. Thank you